Find, Save and Improve
Music, Movies & More with AI
Audials 2024 - Super fast, top quality, all sources.

Find, Save and Improve
Music, Movies & More with AI

one
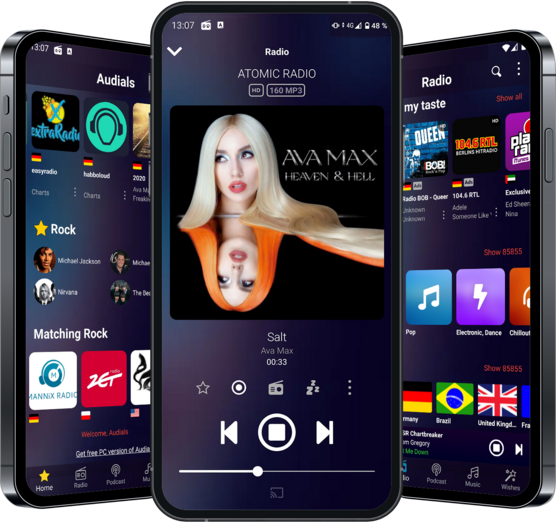
Your streaming recorder
Find, record, save, convert, improve with Artificial Intelligence and enjoy music, movies, radio & more
Streaming services often change the offered videos and songs. Record them now!
Good to know: Audials software does not circumvent copy protection.